在我们的ios应用中,UITableViewController往往是项目中最大的文件,它们包含了许多冗余的、不必要的代码。所以有很多代码的复用率非常低。这篇学习笔记可以让我们构建出轻量级的UITableViewController,以及可复用的UITableViewDataSource。
示例代码猛戳这里。
把DataSource分离出来
我们的示例很简单,就是先展示一个UITableViewController,然后点击某行,推出第二个UITableViewController。
项目结构:

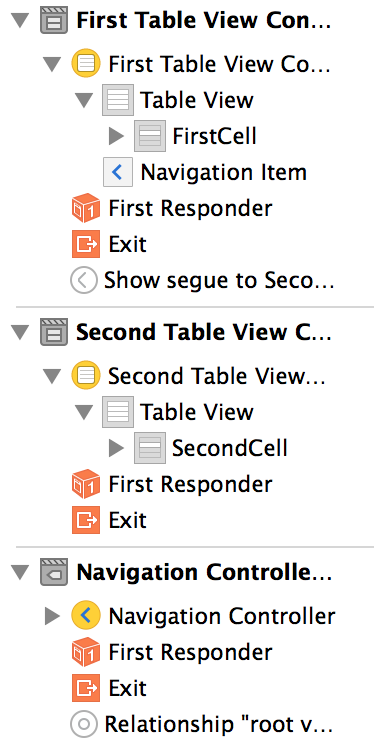
StoryBoard结构:
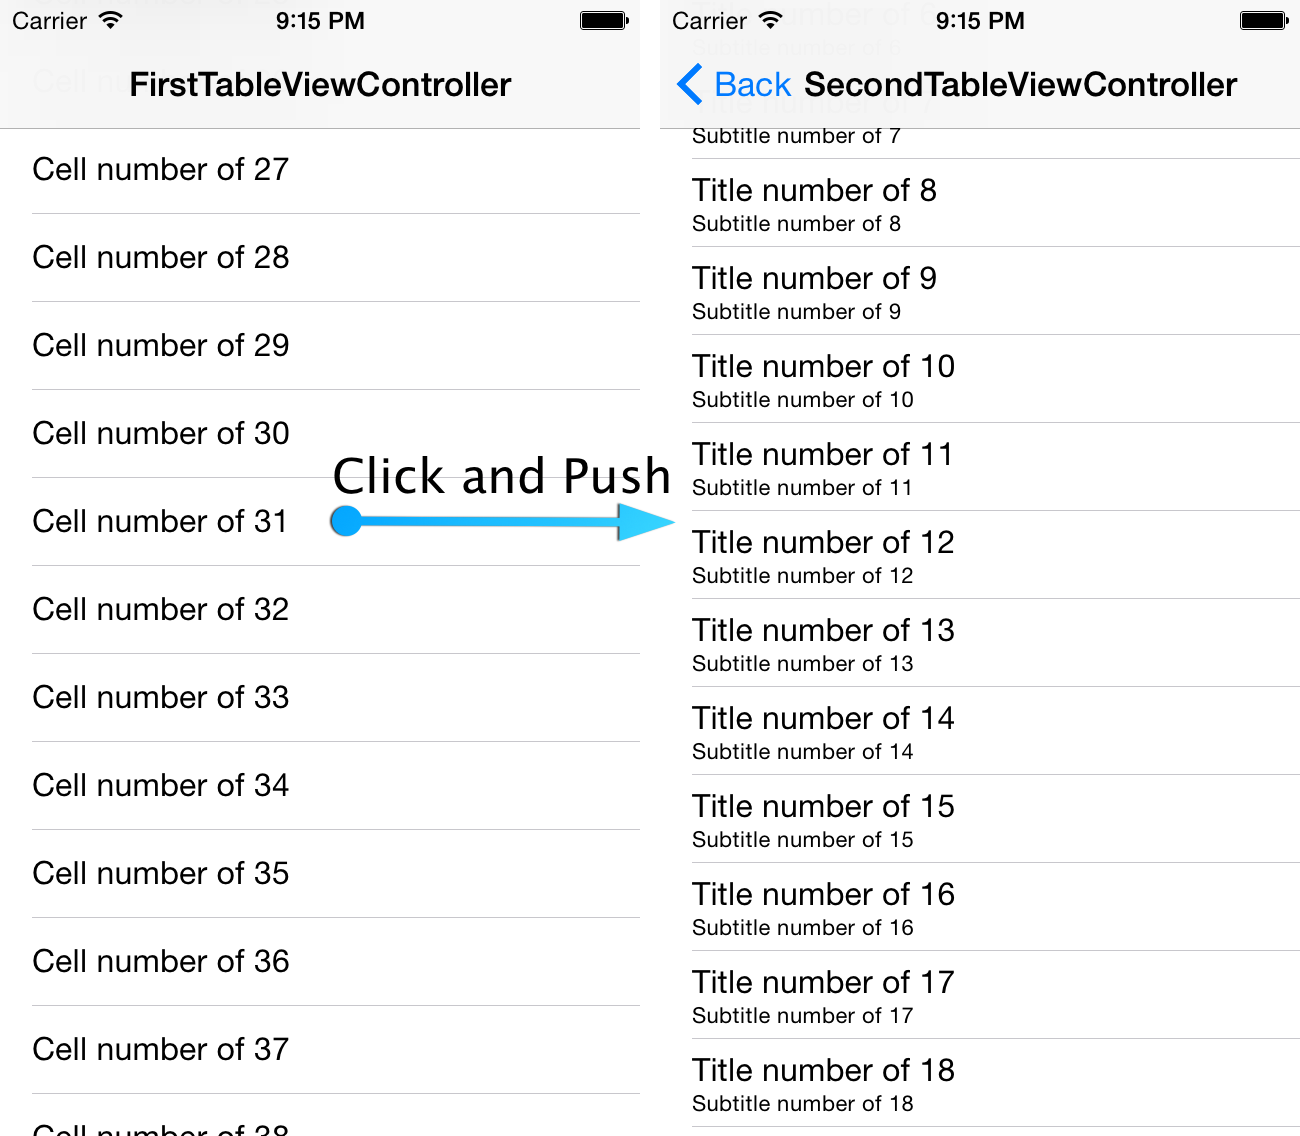
运行截图:
在FirstTableViewController类中有以下几个方法:
override func tableView(tableView: UITableView!, numberOfRowsInSection section: Int) -> Int {

    return firstCellData!.datas.count;

}

override func tableView(tableView: UITableView!, cellForRowAtIndexPath indexPath: NSIndexPath!) -> UITableViewCell! {

    var cell = tableView.dequeueReusableCellWithIdentifier(cellIdentifier, forIndexPath: indexPath) as UITableViewCell!;

    cell.textLabel.text = firstCellData?.datas[indexPath.row];

    return cell;

}

override func tableView(tableView: UITableView!, didSelectRowAtIndexPath indexPath: NSIndexPath!) {

    let stvc = SecondTableViewController();

    self.navigationController.pushViewController(stvc, animated: true);

}
在SecondTableViewController类中有以下几个方法:
override func tableView(tableView: UITableView!, numberOfRowsInSection section: Int) -> Int {

    return secondCellData!.titleDatas.count;

}

override func tableView(tableView: UITableView!, cellForRowAtIndexPath indexPath: NSIndexPath!) -> UITableViewCell! {

    var cell = tableView.dequeueReusableCellWithIdentifier(cellIdentifier, forIndexPath: indexPath) as UITableViewCell!;

    cell.textLabel.text = secondCellData?.titleDatas[indexPath.row];
    cell.detailTextLabel.text = secondCellData?.subtitleDatas[indexPath.row];

    return cell;

}
从上面两个类的代码片段中可以看出,它们都重写了UITableViewDataSource最基本的两个方法,即设定每个Section有多少行和生成Cell并装配数据。更准确的说这些方法都是针对数组做一些事情。所以我们可以尝试把处理数组相关的代码移到单独的类中。对于Cell的设置,我们可以通过闭包来实现。
我们可以创建一个CustomDataSource类(其实命名为ArrayDataSource更好),继承NSObject并遵循UITableViewDataSource协议。
import Foundation
import UIKit

class CustomDataSource: NSObject, UITableViewDataSource {

    var cellData: Array<AnyObject>?;
    var cellIdentifier: String?;
    var configureCell: ((AnyObject,AnyObject) -> ())?;

    init(cellData: Array<AnyObject>, cellIdentifier: String, configureCell: (AnyObject,AnyObject) -> ()) {

        super.init();
        self.cellData = cellData;
        self.cellIdentifier = cellIdentifier;
        self.configureCell = configureCell;

    }

    func tableView(tableView: UITableView!, numberOfRowsInSection section: Int) -> Int {

        return cellData!.count;

    }

    func tableView(tableView: UITableView!, cellForRowAtIndexPath indexPath: NSIndexPath!) -> UITableViewCell! {

        var cell = tableView.dequeueReusableCellWithIdentifier(cellIdentifier, forIndexPath: indexPath) as UITableViewCell!;

        configureCell!(cell,cellData![indexPath.row]);

        return cell;

    }

}
现在,你就可以把UITableViewController的这两个方法去掉了。取而代之,你可以创建一个CustomDataSource类的实例作为UITableViewController的DataSource。
//FirstTableViewController

 func setupTableView() {

    customDataSource = CustomDataSource(cellData: items, cellIdentifier: cellIdentifier, configureCell: {(cell, firstCellData) in

        var firstCell = cell as FirstCell;
        firstCell.configureForCell(firstCellData as FirstCellData);

        });

    self.tableView.dataSource = customDataSource;

}


// SecondTableViewController

 func setupTableView() {

    customDataSource = CustomDataSource(cellData: items, cellIdentifier: cellIdentifier, configureCell: {(cell, secondCellData) in

        var secondCell = cell as SecondCell;
        secondCell.configureForCell(secondCellData as SecondCellData);

        });

    self.tableView.dataSource = customDataSource;

}
设置Cell的代码在对应的View层实现。
class FirstCell: UITableViewCell {

    func configureForCell(item: FirstCellData!) {

        self.textLabel.text = item.title;

    }

}


class SecondCell: UITableViewCell {

    func configureForCell(item: SecondCellData!) {

        self.textLabel.text = item.title;
        self.detailTextLabel.text = item.subtitle;

    }

}
现在每次你想把数组显示在某些Table View中的时候都可以复用DataSource的这些代码,当然也可以举一反三,将DataSource中处理其他数据类型的代码也分离出来,划分为多个处理不同数据类型或业务逻辑的DataSource,形成Data Source Pool,以后就可以随意复用啦。
总结:
在MVC设计模式中,我们应该把代码放置在合适、正确的位置,比如不要在View Controller中做网络请求的逻辑,你应该将它们封装在Model层的类中。也不应该在View Controller中构建复杂的View,而是应该将它们封装在View层的UIView子类中等等。
虽然以上技巧并不适用于所有项目的任何角落,但是我们作为程序员要本着写可维护的代码、写可让别人看懂的代码为遵旨。通过这些小技巧我们至少可以将笨重的View Controller变得小巧、整洁。
参考文献:Lighter View Controllers